

My name is Terry and I’m an independent stop motion animator.
In March 2020, I landed my dream gig that launched my stop motion career: designing and animating a segment for a kids’ TV show. But just as I was gearing up, lockdown hit, and the studio I was set to rent shut down.
With the deadline looming and nowhere to shoot, I had to think fast. So, I decided to turn my tiny bedroom into a makeshift stop-motion studio.
Unfortunately, I was tight on money since I was also an animation student at Sheridan College at the time. However, I managed to convince the client to pay me 50% up front – just enough to fund my setup.
Since every store was closed, my only choice was to purchase everything online – so I turned to Amazon.
I spent three whole days researching as much as I could – I had lots of worries about the quality of equipment I could buy off Amazon since I had been used to studio quality lights and equipment. For example, there were many options to purchase photography lights, but often these types of lights don’t cut it for stop motion. Why? Because in stop motion, you need to maintain consistent lighting throughout your shots – any flicker in a light can cause a shot to be off.
After reading hundreds of reviews on Amazon, I finally dove in and purchased everything all at once (I even purchased lights from two different brands to figure out which would be better).
While it was quite the daunting task, I managed to go from zero to having a complete stop motion studio in my bedroom – all for under $1,200 (CAD).
With my DIY studio, I was able to produce multiple stop motion films that met TV standards. Below is one example that appeared in the PBS show Let’s Go Luna.
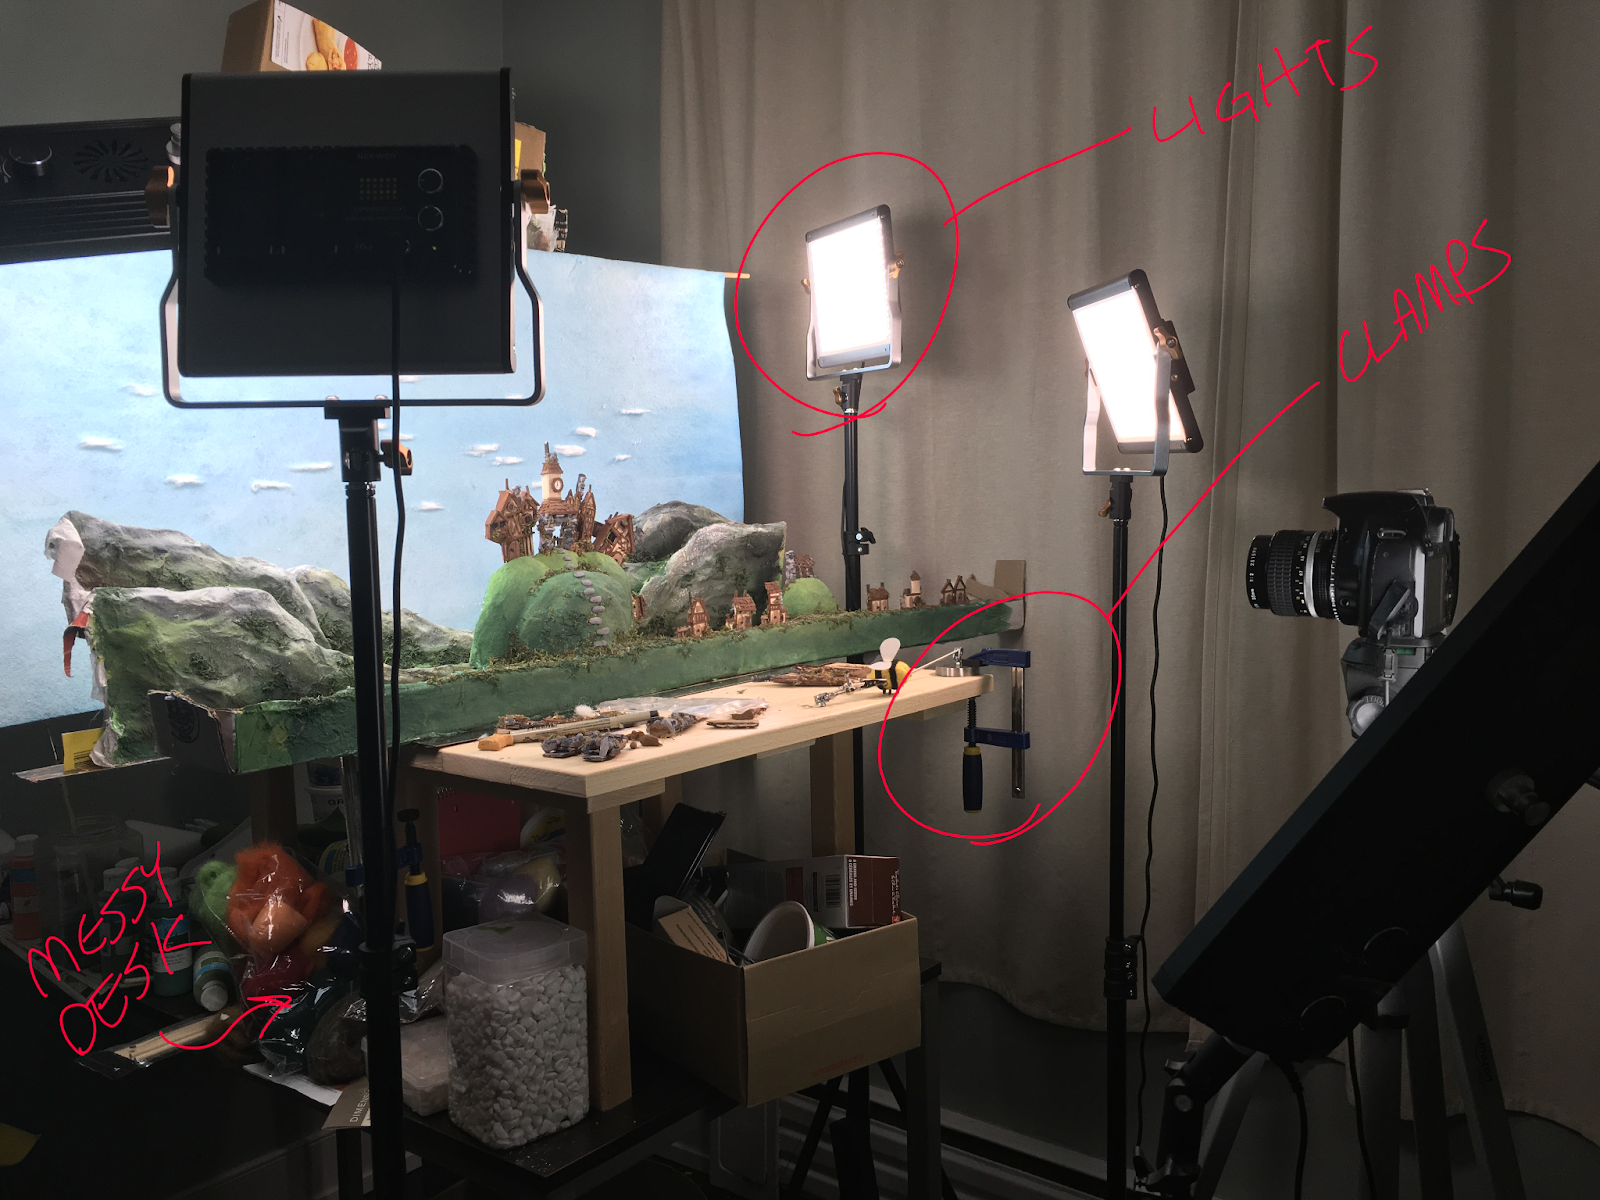
Here is a behind-the-scenes shot of my studio setup. In total, the space is only about 10 feet by 6 feet – so it’s quite small.
Since I get a lot of questions about setting up a budget-friendly at-home studio, I decided to create this guide. Inside you’ll find everything you need to get started with your own (bare bones) home studio that will produce professional quality work – all for under $1,200 (CAD).
I’ve also included (affiliate) links to all these items on Amazon for your convenience.
Stop Motion Table: $120

When it comes to stop motion animation, a stable surface is non-negotiable (we’ve all bumped the table and ruined the shot!)
Skip the headache of wobbly tables with separate legs. Opt instead for a sturdy option like this one which has metal rods running the length of both ends and solid, attached legs.
While I have bumped the set a few times with this table, it’s so sturdy that it settles exactly back in place from where things were.
Stool: $50
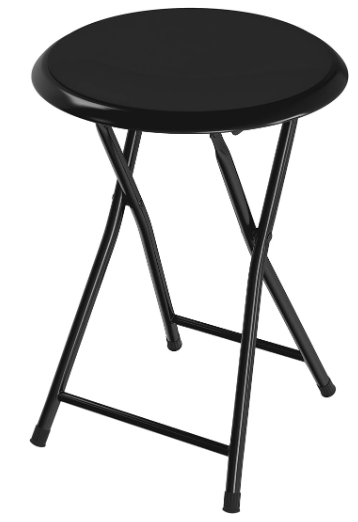
Since I was working with such a small space in my bedroom, this tiny, yet sturdy stool has been perfect for sitting beside the animation table and moving around to different angles of the shot I’m working on. A chair any larger simply wouldn’t have fit in my space.
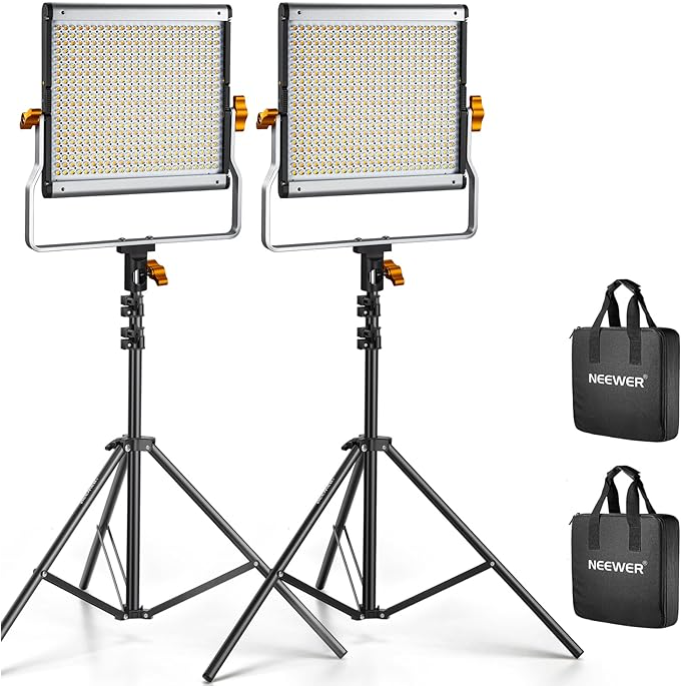
Stop Motion LED Lights: $440 ($220 a pair)
Having multiple sources of light on a stop motion set is a necessity – it’s what can elevate your stop motion from amateur-looking to professional.
That’s why I recommend having at least 4 light sources – one or two to light the background, and one or two to light the character (or a combination of whatever works for your shot).
At first I only bought one pair of these lights, and a pair of another brand (which I did not end up liking).
Unlike another brand that I tried out, these lights do not get hot, are very lightweight, and make it super easy to change the color temperature and brightness. You can easily turn them on and off between shots and they keep the exact lighting you set them up with
The other great thing about these lights is that you can buy them separately, or just the light, or just the stand. Over the years I’ve bought three more of these lights. They are fantastic
Camera Tripod: $50

This is a barebones tripod, but it does the job. I always glue it to the floor before I start shooting anything though – just in case I happen to bump it, which has definitely happened before.
Here’s a simple trick for keeping your tripod anchored to the floor: start by laying down some painter’s tape on the floor, then affix your tripod legs to the tape using hot glue.
Not only does this method minimize any potential damage from the hot glue to your floor, but it also offers a quick and hassle-free way to adjust the tripod’s position whenever needed. It’s a simple yet effective solution that ensures stability without the fuss.
If you’re looking for bulk painter’s tape, here’s a link.
Extension Cord: $60
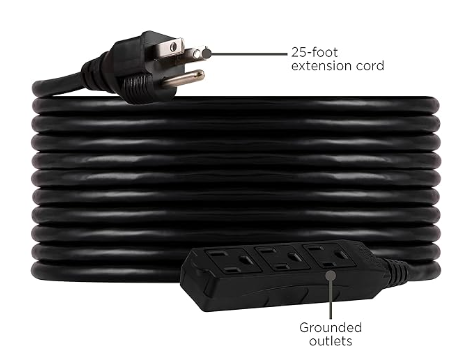
For any stop motion project, at least one high quality extension cord is an absolute must. With all the electrical equipment you need—camera, lights, computer—demanding power, you need a cord that can deliver a quality circuit without fail.
If you’re in an apartment like me where you can’t have too many items plugged into the same wall plug (I once short-circuited my bathroom by having the iron and hairdryer going at the same time), it’s important to split up your electrical equipment to different rooms on different circuits – lest you blow a fuse.
That’s why I bought this 25 foot extension cord (I never needed all 25 feet), but it allowed me to run the cord through my apartment and use my kitchen’s circuit as well as my bedroom’s, which split the power usage.
Storage Bins: $130 (pack of 4)
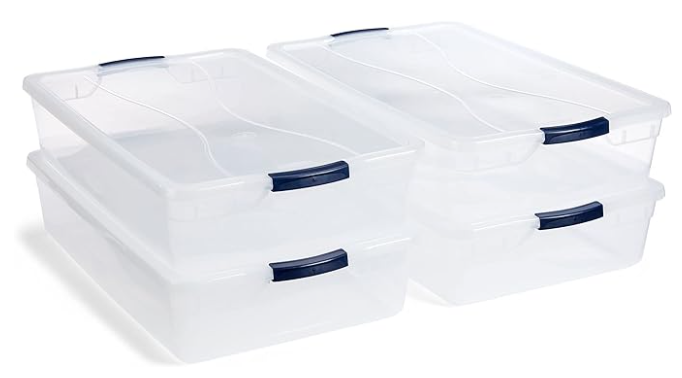
For me, the storage bins are an organizational must.
They completely slide under my bed, keeping my bedroom tidy and organized. What’s great about these ones is that all my lights, tripods, extension cords, and other equipment fits perfectly within them.
Dresser: $300
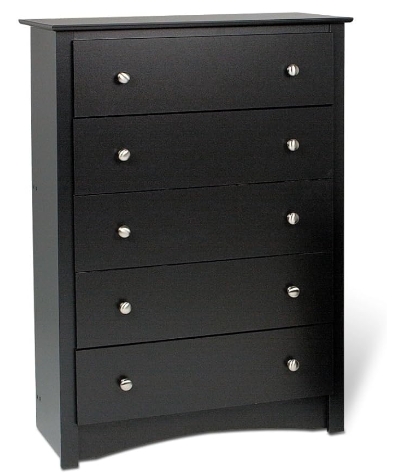
While it’s not a necessity, having a dresser can make a world of difference in organizing your studio space. In my experience, relying solely on storage bins under the bed just didn’t cut it.
Having a dresser quadrupled my storage space, providing ample room for all my craft supplies—from wooden dowels to clay, felt, styrofoam, and everything in between.
While there are plenty of budget-friendly dresser options on Amazon, given the weight of the items I needed to store, I opted for a sturdy wooden one. Plus, it just lasts longer.
Bonus: Stop Motion Camera Equipment
Camera equipment can be quite expensive. I didn’t include it in everything you need to purchase an at-home studio, since you may already have your own camera equipment.,
However, if you’re looking for some recommendations, here are the specs of what I used to shoot the Aiken Drum stop motion short at the top of this post.
For software, I used Dragonframe, which is the gold standard of stop motion animation software.
Canon EOS R5: $4,000
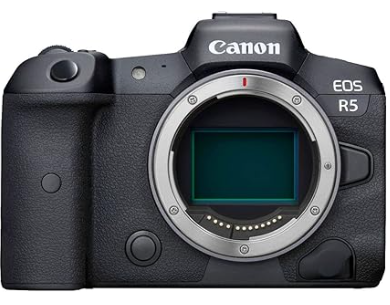
Canon cameras are quite standard for stop motion. If you’re looking at different camera options, Dragonframe software has a handy guide on which are best for stop motion, and use with Dragonframe.
Novoflex Adapter: $175

In order to mount Nikon lenses onto a Canon camera, you will need an adapter. I used this Novoflex adapter.
Nikon 18-55mm: $250

This 18-55mm lens is perfect for accomplishing a variety of close to medium shots.
Best of Luck With Your Home Stop Motion Studio!
And there you have it! Absolutely everything you need to build your own stop motion studio at home including:
- Stop Motion Table: $120
- Stool: $50
- Stop Motion LED Lights: $440 (set of two)
- Camera Tripod: $50
- Extension Cord: $60
- Storage Bins: $130 (pack of 4)
- Dresser: $300
Total: $1,150 (not including cameras or lenses)
If you have any questions, feel free to reach out to me on social media.
Cheers!
Terry
